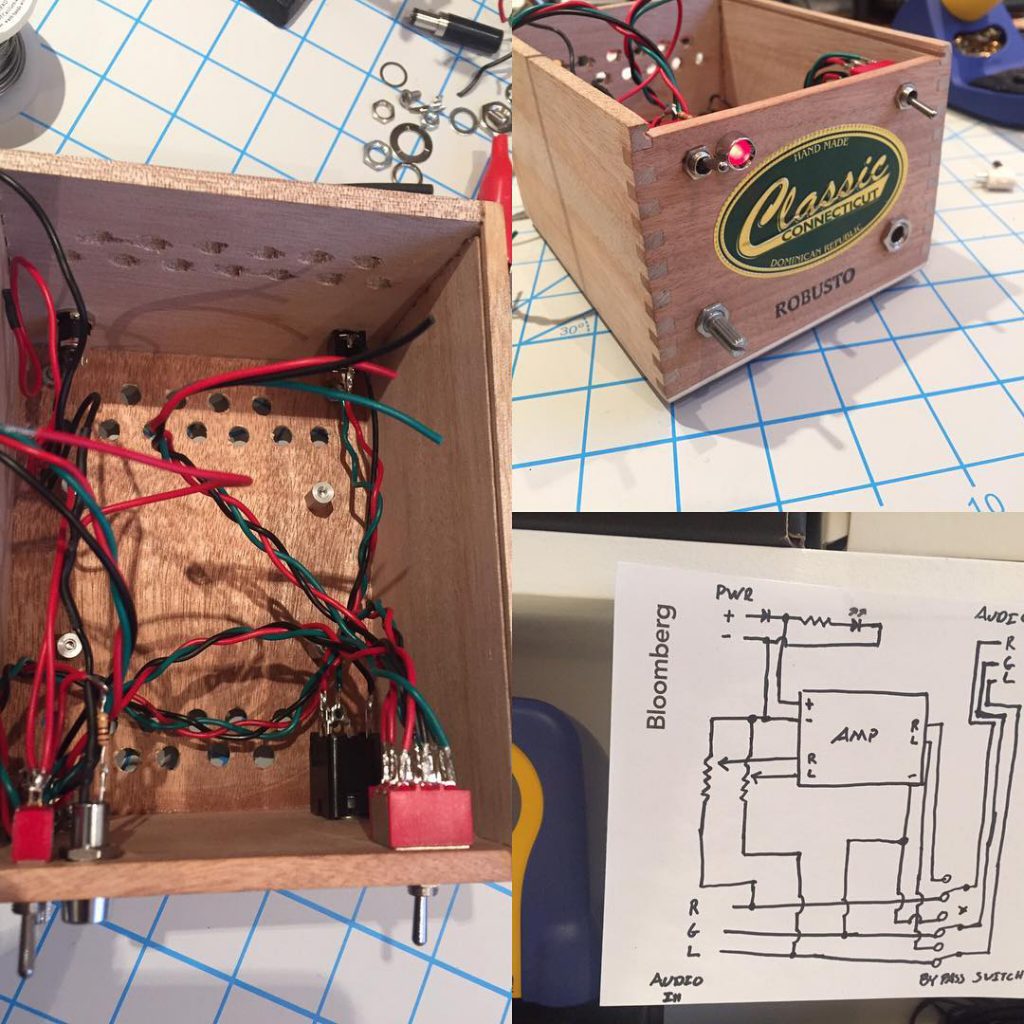
As I write this, I’m enjoying some Boston piped through the Robusto Amp. This was a pretty simple, yet satisfying build.

The Verdict
With the bypass switch, I can compare the amp’s sound to the source. So, how does it sound?
- With crap earbuds, there’s no difference.
- With slightly better headphones, it sounds a bit “fuller” with the amp, maybe.
Overall, the difference is pretty minor (if it exists at all). I need to try two things: Line level input and higher impedance headphones. Even my good headphones are fairly low impedance.
Lessons Learned
- The polarity protection diode payed off. While messing with the power supply, I reversed the polarity at least once.
- I’m not so good on perf boards. Next time, I think I’ll spend a little more time up front laying things out. Also, I think I’ll try not using the component leads as traces, this makes it really hard to get them off the board if need be.
- Don’t underestimate the time the enclosure fitting and final build will take. Granted, I’m pretty slow, and I don’t have much of a workshop, but this is a big part of the project. Where putting together a simple circuit on a breadboard is fast, fitting everything and soldering the final circuit can take an order of magnitude longer (for me anyway).

