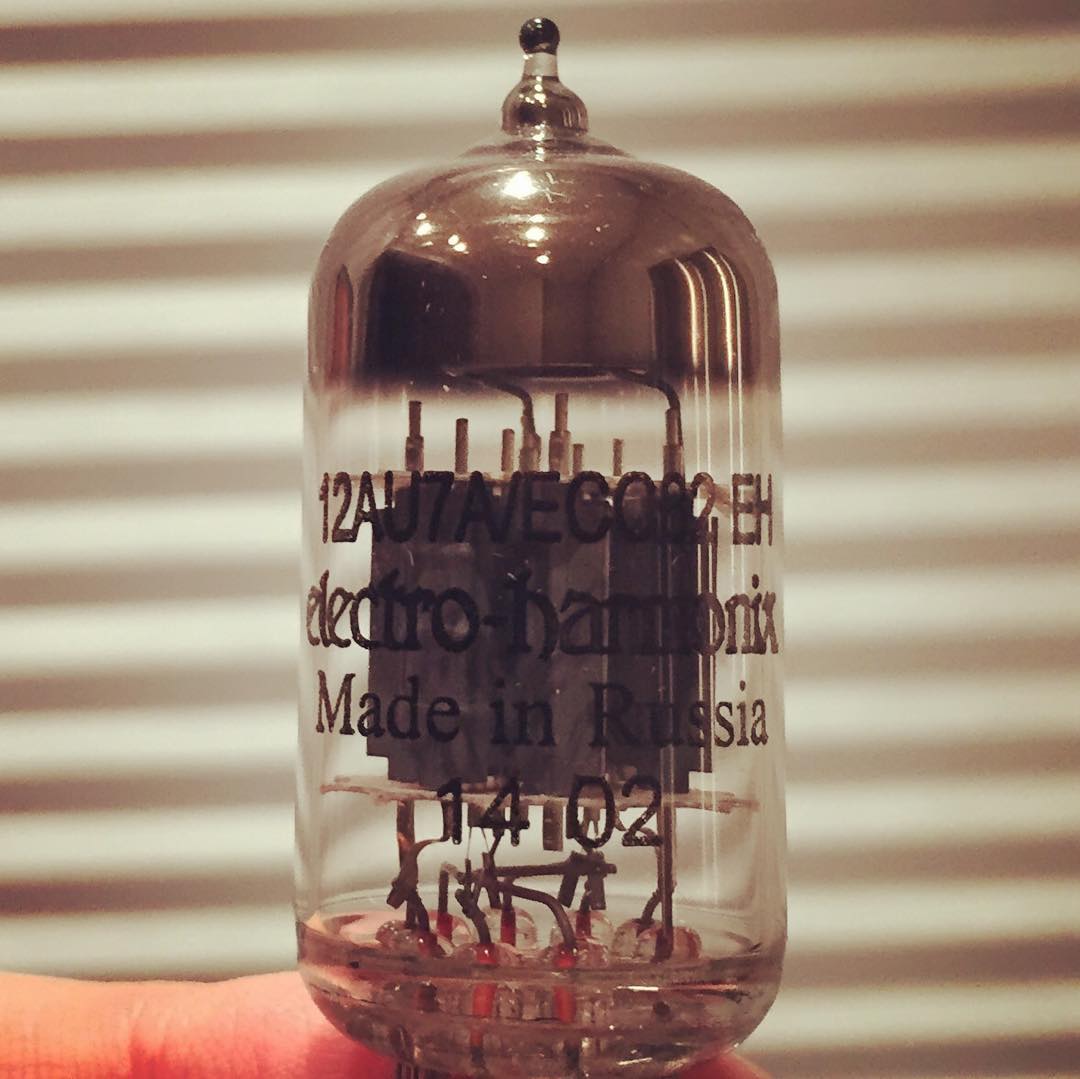
I spent a good portion of yesterday doing the final assembly on the headphone amp. All I had left this morning was to wire up tube and pop the top on. I plugged in the power and…

In the words of Isiah Whitlock Jr.: Sheeeeit! The LED was flashing, it’s not supposed to flash.

After a bit of poking around with the meter, I found the problem: I wired the LM317 regulators improperly. The output was shorted to ground. I carefully disassembled enough to get to the bottom of the circuit board and rerouted a few things. Once the LM317 was wired up correctly, it worked fine. I’m a bit surprised that the components stood up to such abuse.

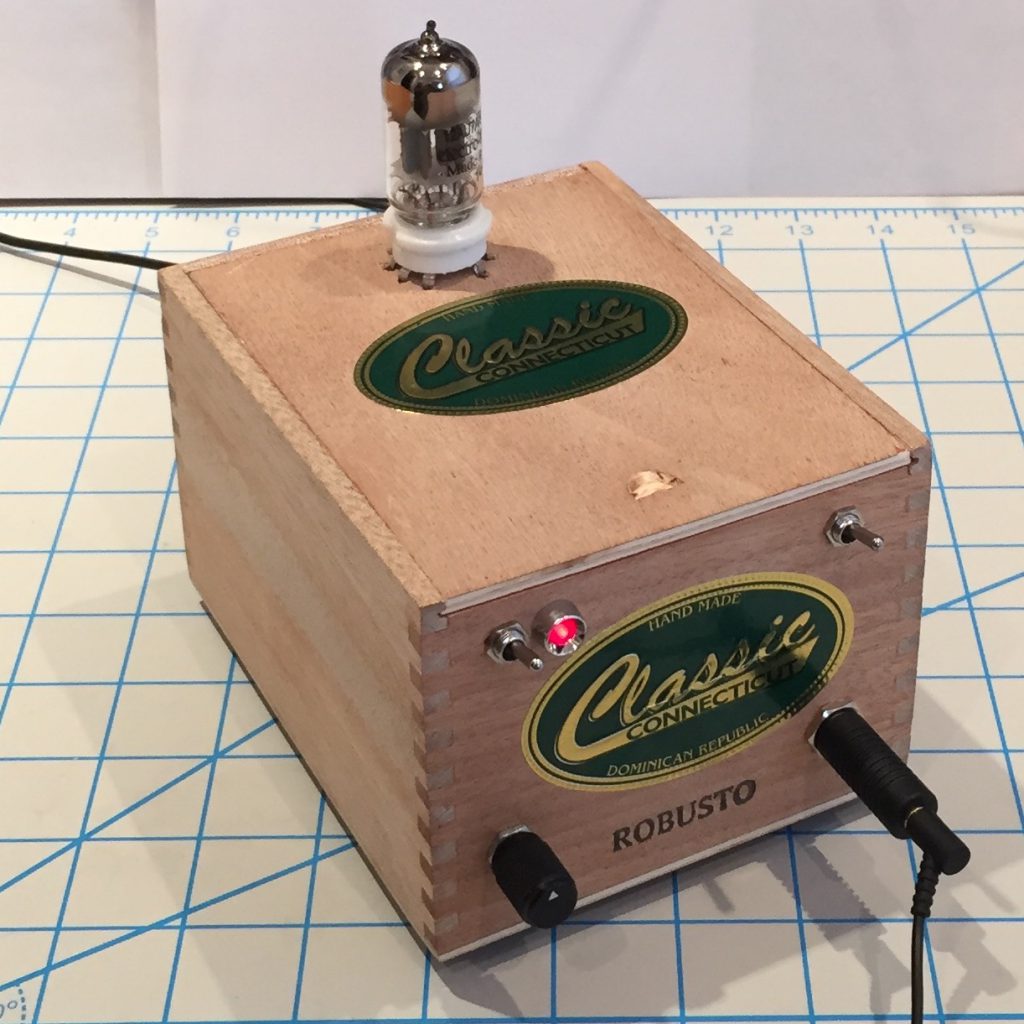
Here’s the final product playing some classic rock:

Robusto Amp

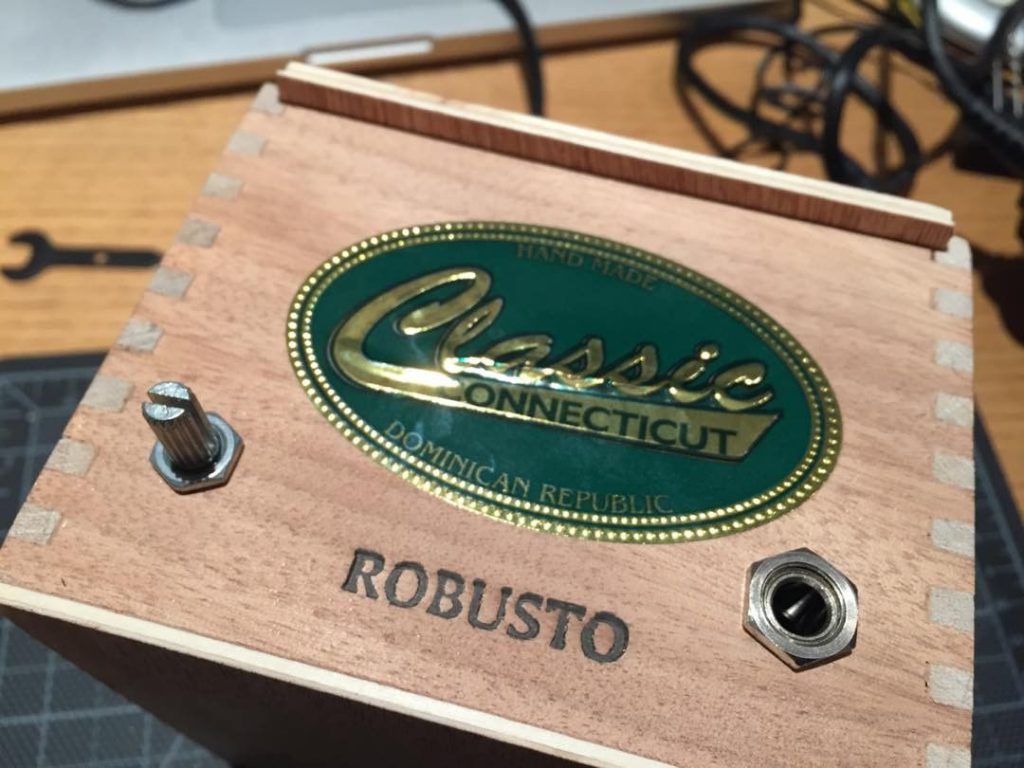
Amp Front, with Jack

Yesterday was a productive day on the amp front. I made a little progress mounting components on the front panel. I also made a lot of progress with the electronics.

With everything wired up, albeit temporarily, I was happy when I saw the tube glow for the first time, and even happier when I ran some music through it. The amp sounds great. It has a brightness that others have noted, it’s the sort of profile that goes well with the warm sound of first track I played through it (What if We All Stopped Paying Taxes – Sharon Jones & The Dap Kings).

It’s not perfect. There is a low level hiss, noticeable only when there is no sound. I’ll have to see what I can do to get rid of that. It also picks up some RFI if something like an iPhone is within a foot of the circuitry.

Now I need to work on getting it cleaned up and in the enclosure so the guts aren’t splayed out on my desk.

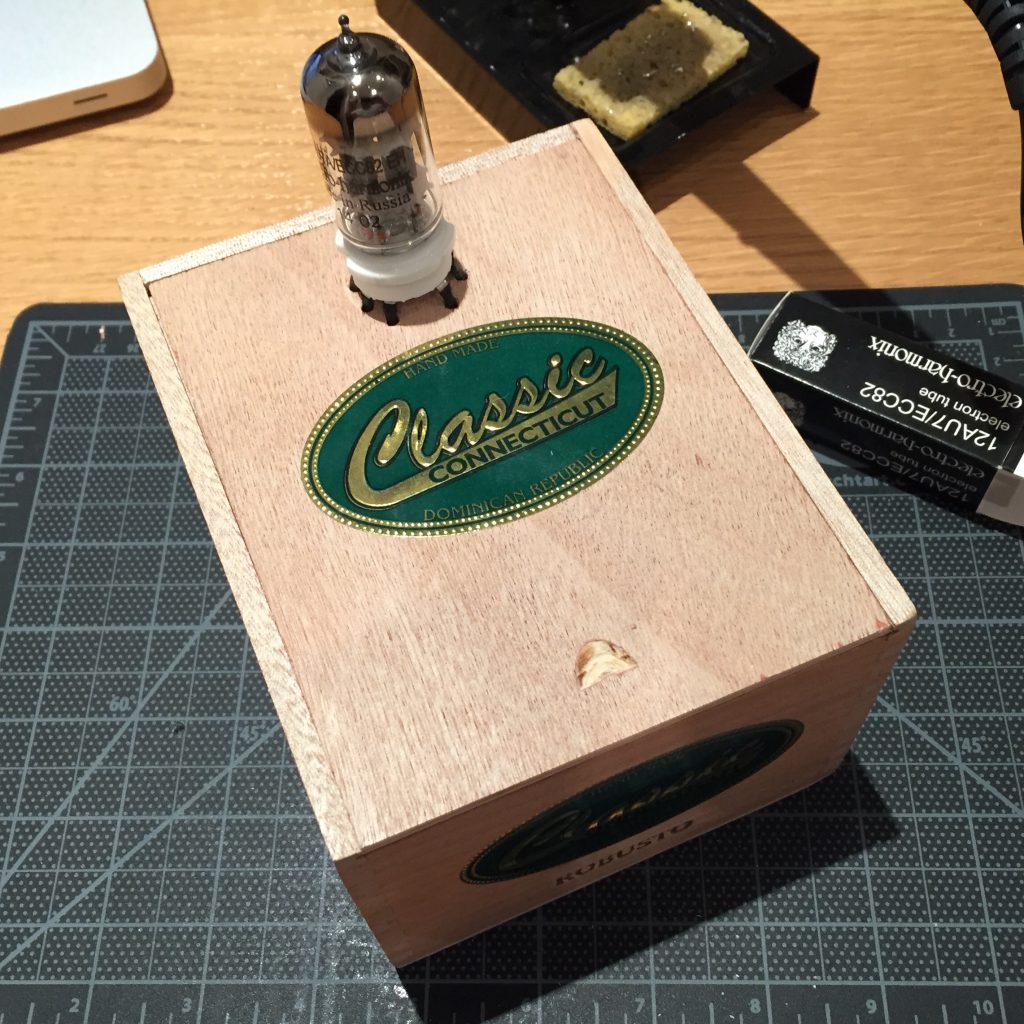
Amp Enclosure 2

The plan with this headphone amp is to build it on a breadboard first. Partly to make sure it works, and partly because I’m still hesitant to etch my own circuit board.

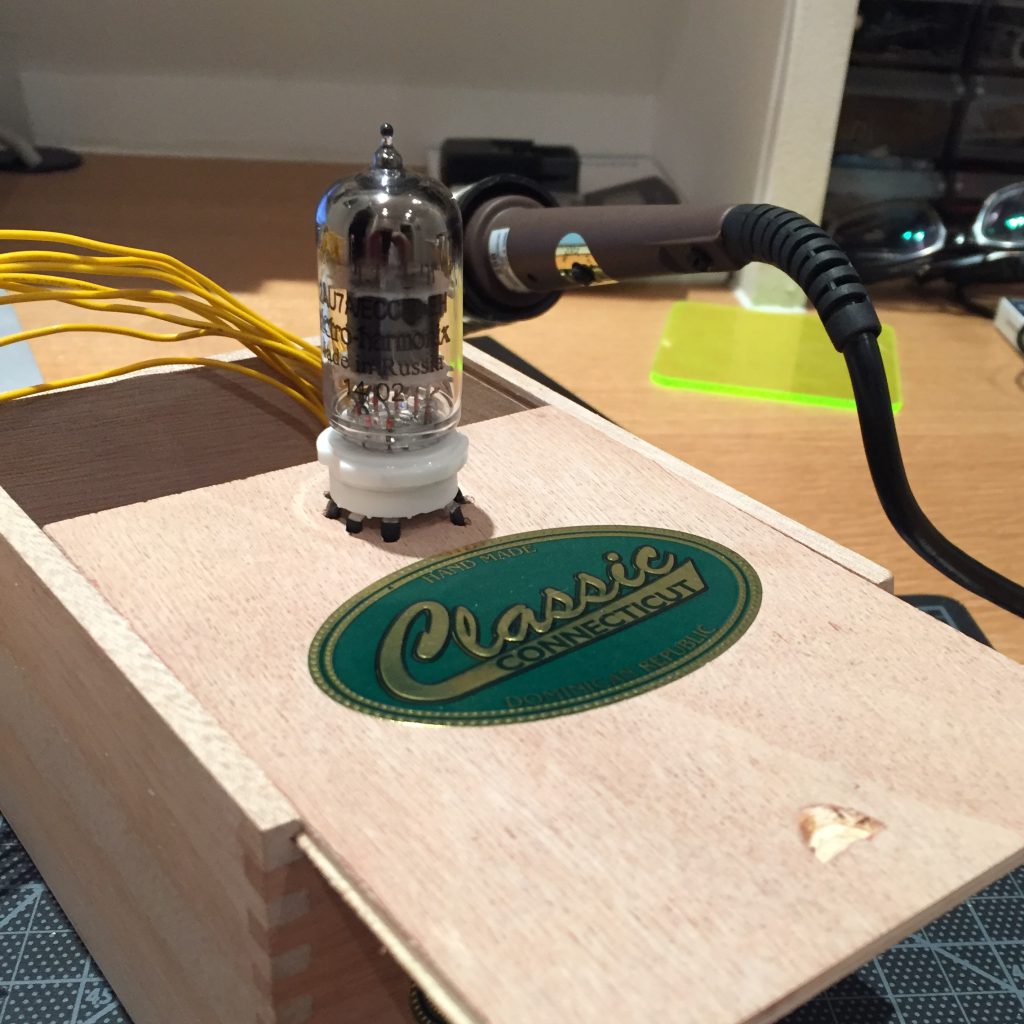
Since the tube wasn’t going to fit on the breadboard, I was looking for something to attach it to, temporarily, so it won’t flop around. I found a cigar box in my small junk collection, which I think will do nicely. I mounted the tube socket on the cover and soldered in some hook up wire.

Even though it is meant to be temporary, this little cigar box could function as a permanent enclosure. It will need some ventilation holes though.

Amp Enclosure 1

I wanted to use a Raspberry Pi as an information display. To do this, I wanted a browser to open a page full-screen on boot. I thought this would be relatively easy, but I ended up spending some time troubleshooting. There are many, many pages out there describing how to do this, but some of the information is out of date.

Raspberry Pi Kiosk Screen Tutorial was very useful, although, I used the Midori browser instead of Chromium. Substituting “midori” for “chomium” seemed to work fine for this tutorial.

As for the autostart file, note that you might have several of these on your pi, I suggest checking to see if you have a user config file, that one will take priority over any of the others (including those listed in the tutorial above). Mine is at /home/pi/.config/lxsession/LXDE-pi/autostart.

The web page I’m running relies on local storage, and it seems that Midori has that option disabled by default. I enabled it, and it worked great when I launched Midori in the desktop environment, but the page failed to load when launched from the command line. After some poking around, I saw that the Privacy tab wasn’t in Midori’s preferences when launched from the command line. I “fixed” that by making sure pi user’s config was getting loaded.

The line in my autostart file that opens the browser looks something like this (note the -c flag):

@midori -c /home/pi/.config/midori -e Fullscreen -a http://[URL]

With that, it worked great!