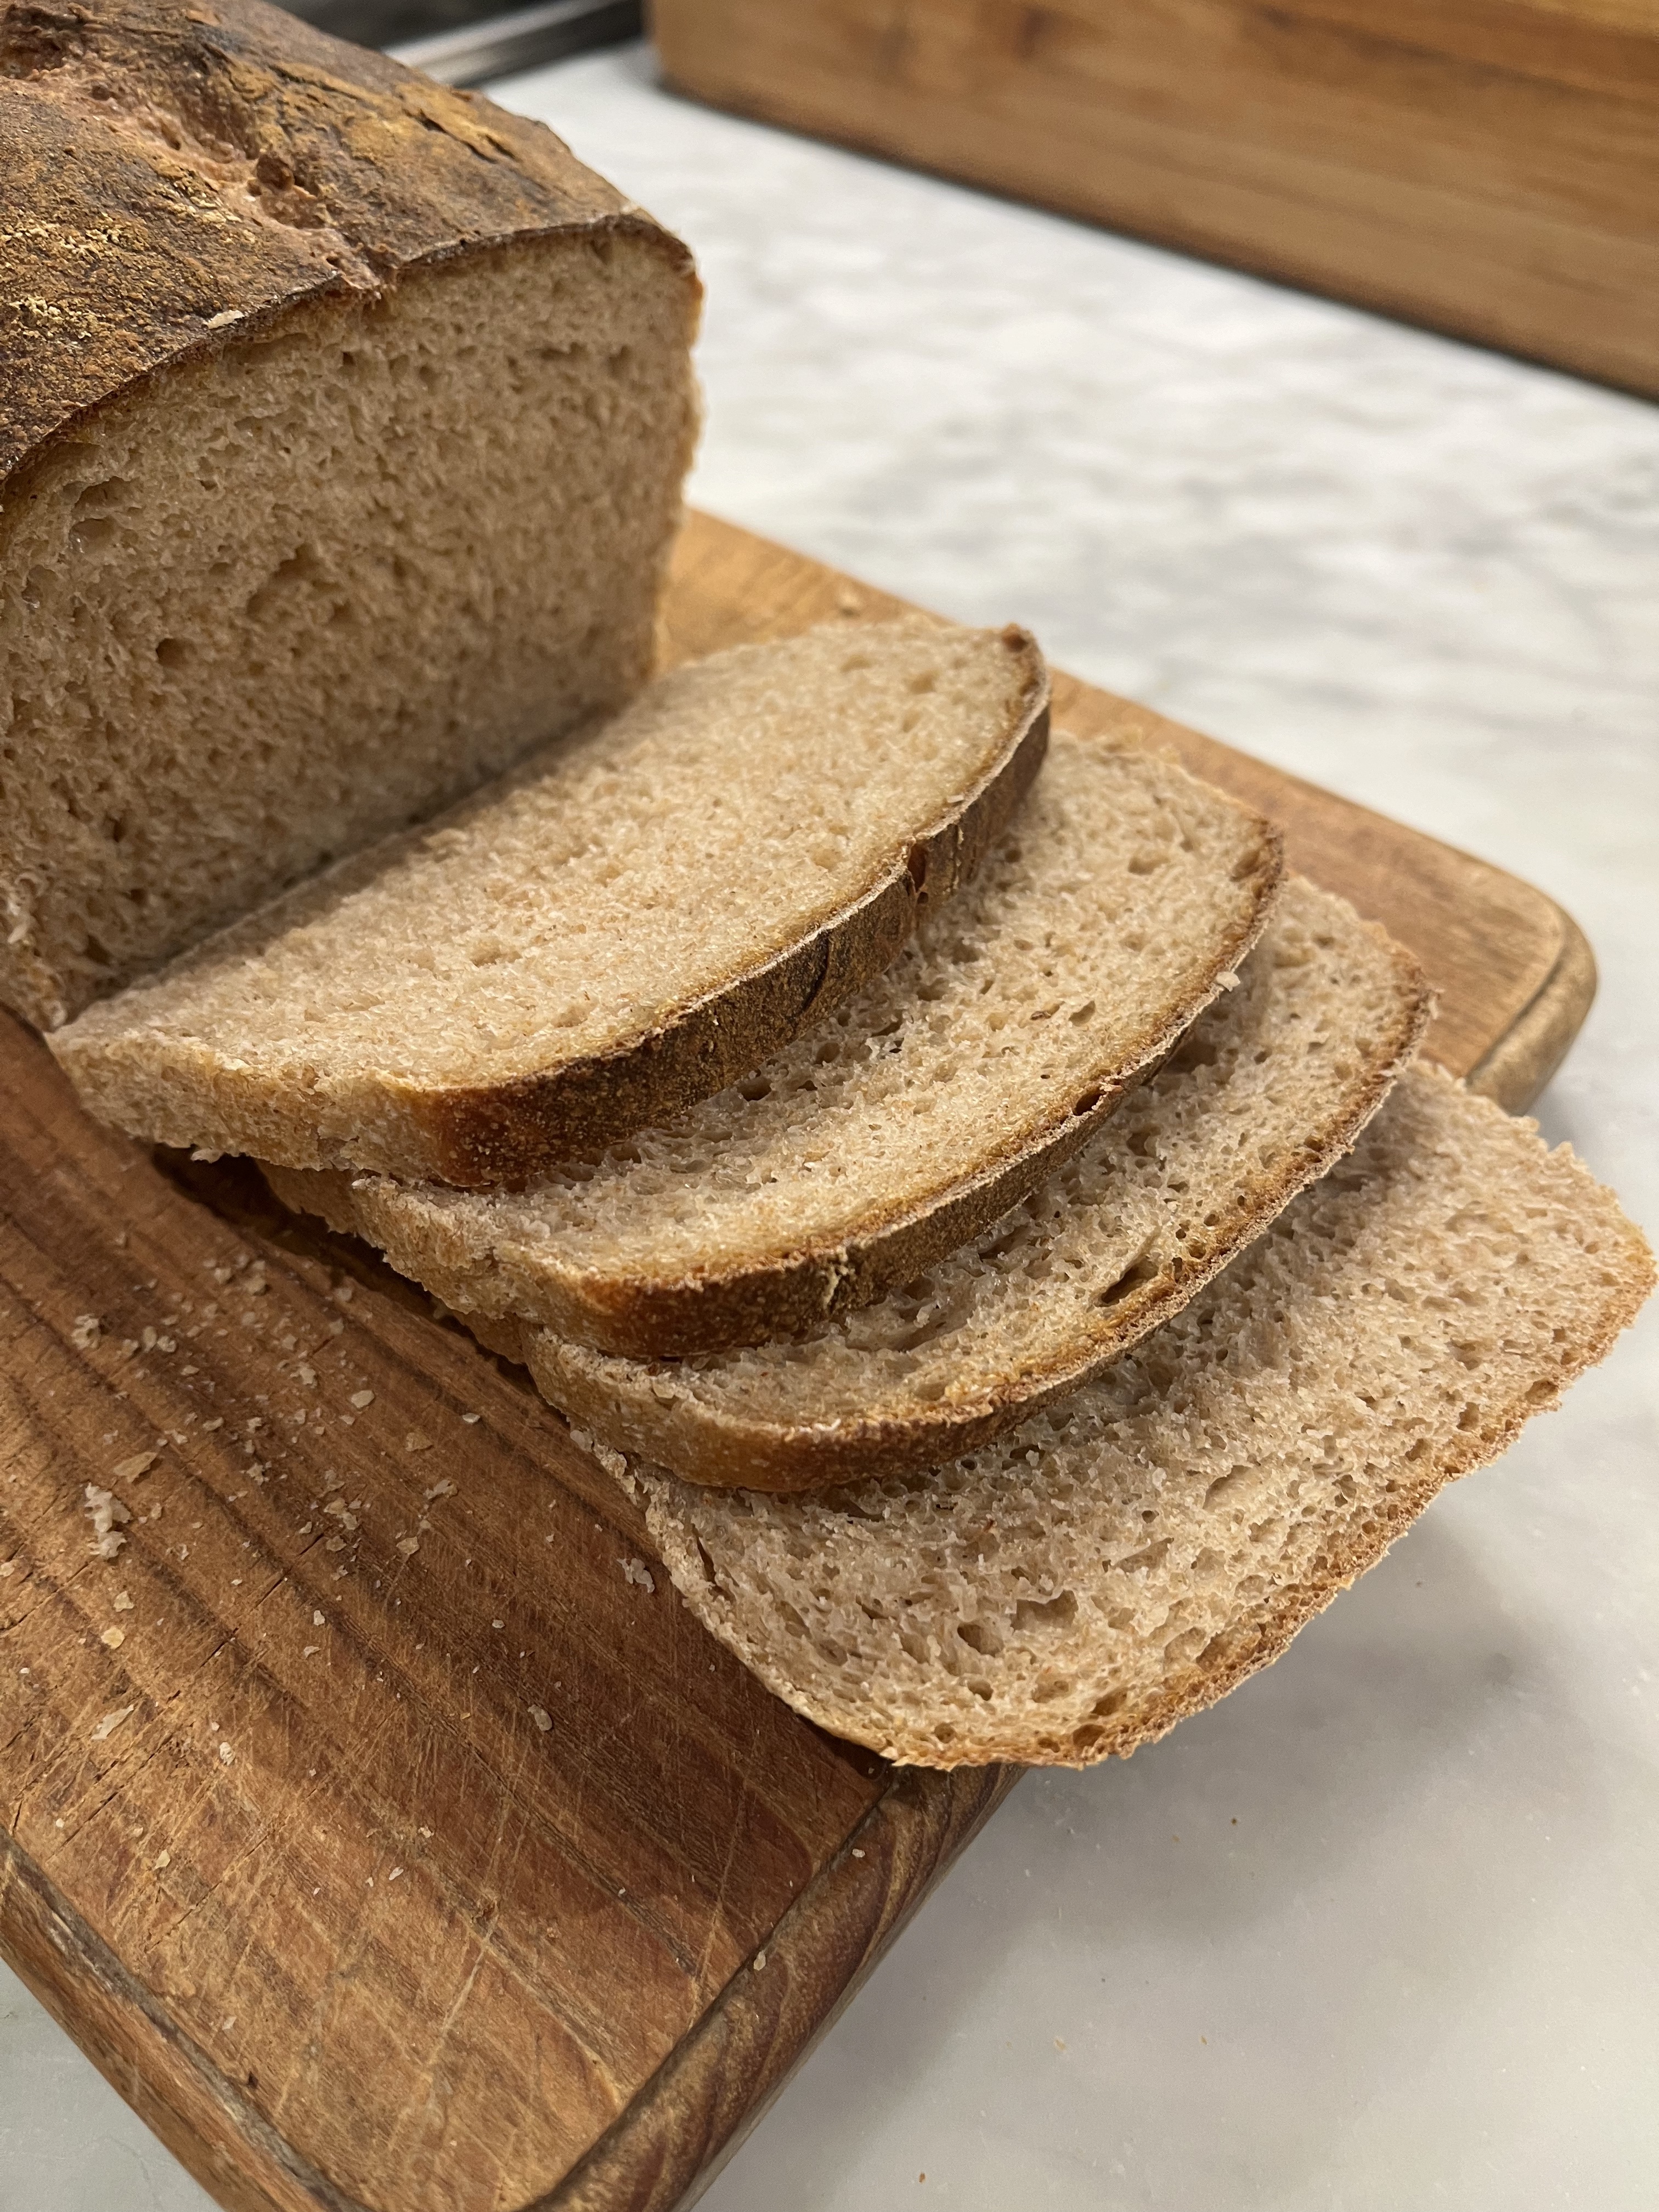
A favorite around here are these Smoked Gochujang Ribs. That low-and-slow recipe calls for over 6 hours in the smoker, which requires some advanced planning. Since last year, we’ve had good luck with a faster recipe Brian turned me on to, I think it’s how they roll in Alabama. It calls for a slightly higher heat and can be on the table in a couple hours. The results? Almost as good as the low-and-slow method.
Recipe
I’m writing this down here so I don’t have to go digging into my message history next time I cook them:
- Prep a couple racks of pork ribs
- Remove silver skin
- Slather with yellow mustard
- Sprinkle spices on all sides: Salt, black pepper, onion powder, garlic powder, paprika. I go light here–not looking to develop a bark. I also leave out sugar to prevent burning
- Keep in refrigerator until time to cook
- Prepare grill for indirect cooking and stabilize the temperature around 325º
- Put ribs on the grill bone side down, or use a rib rack
- Cook covered maintaining temperature
- After an hour, check the internal temperature, you’re looking for around 190-200º
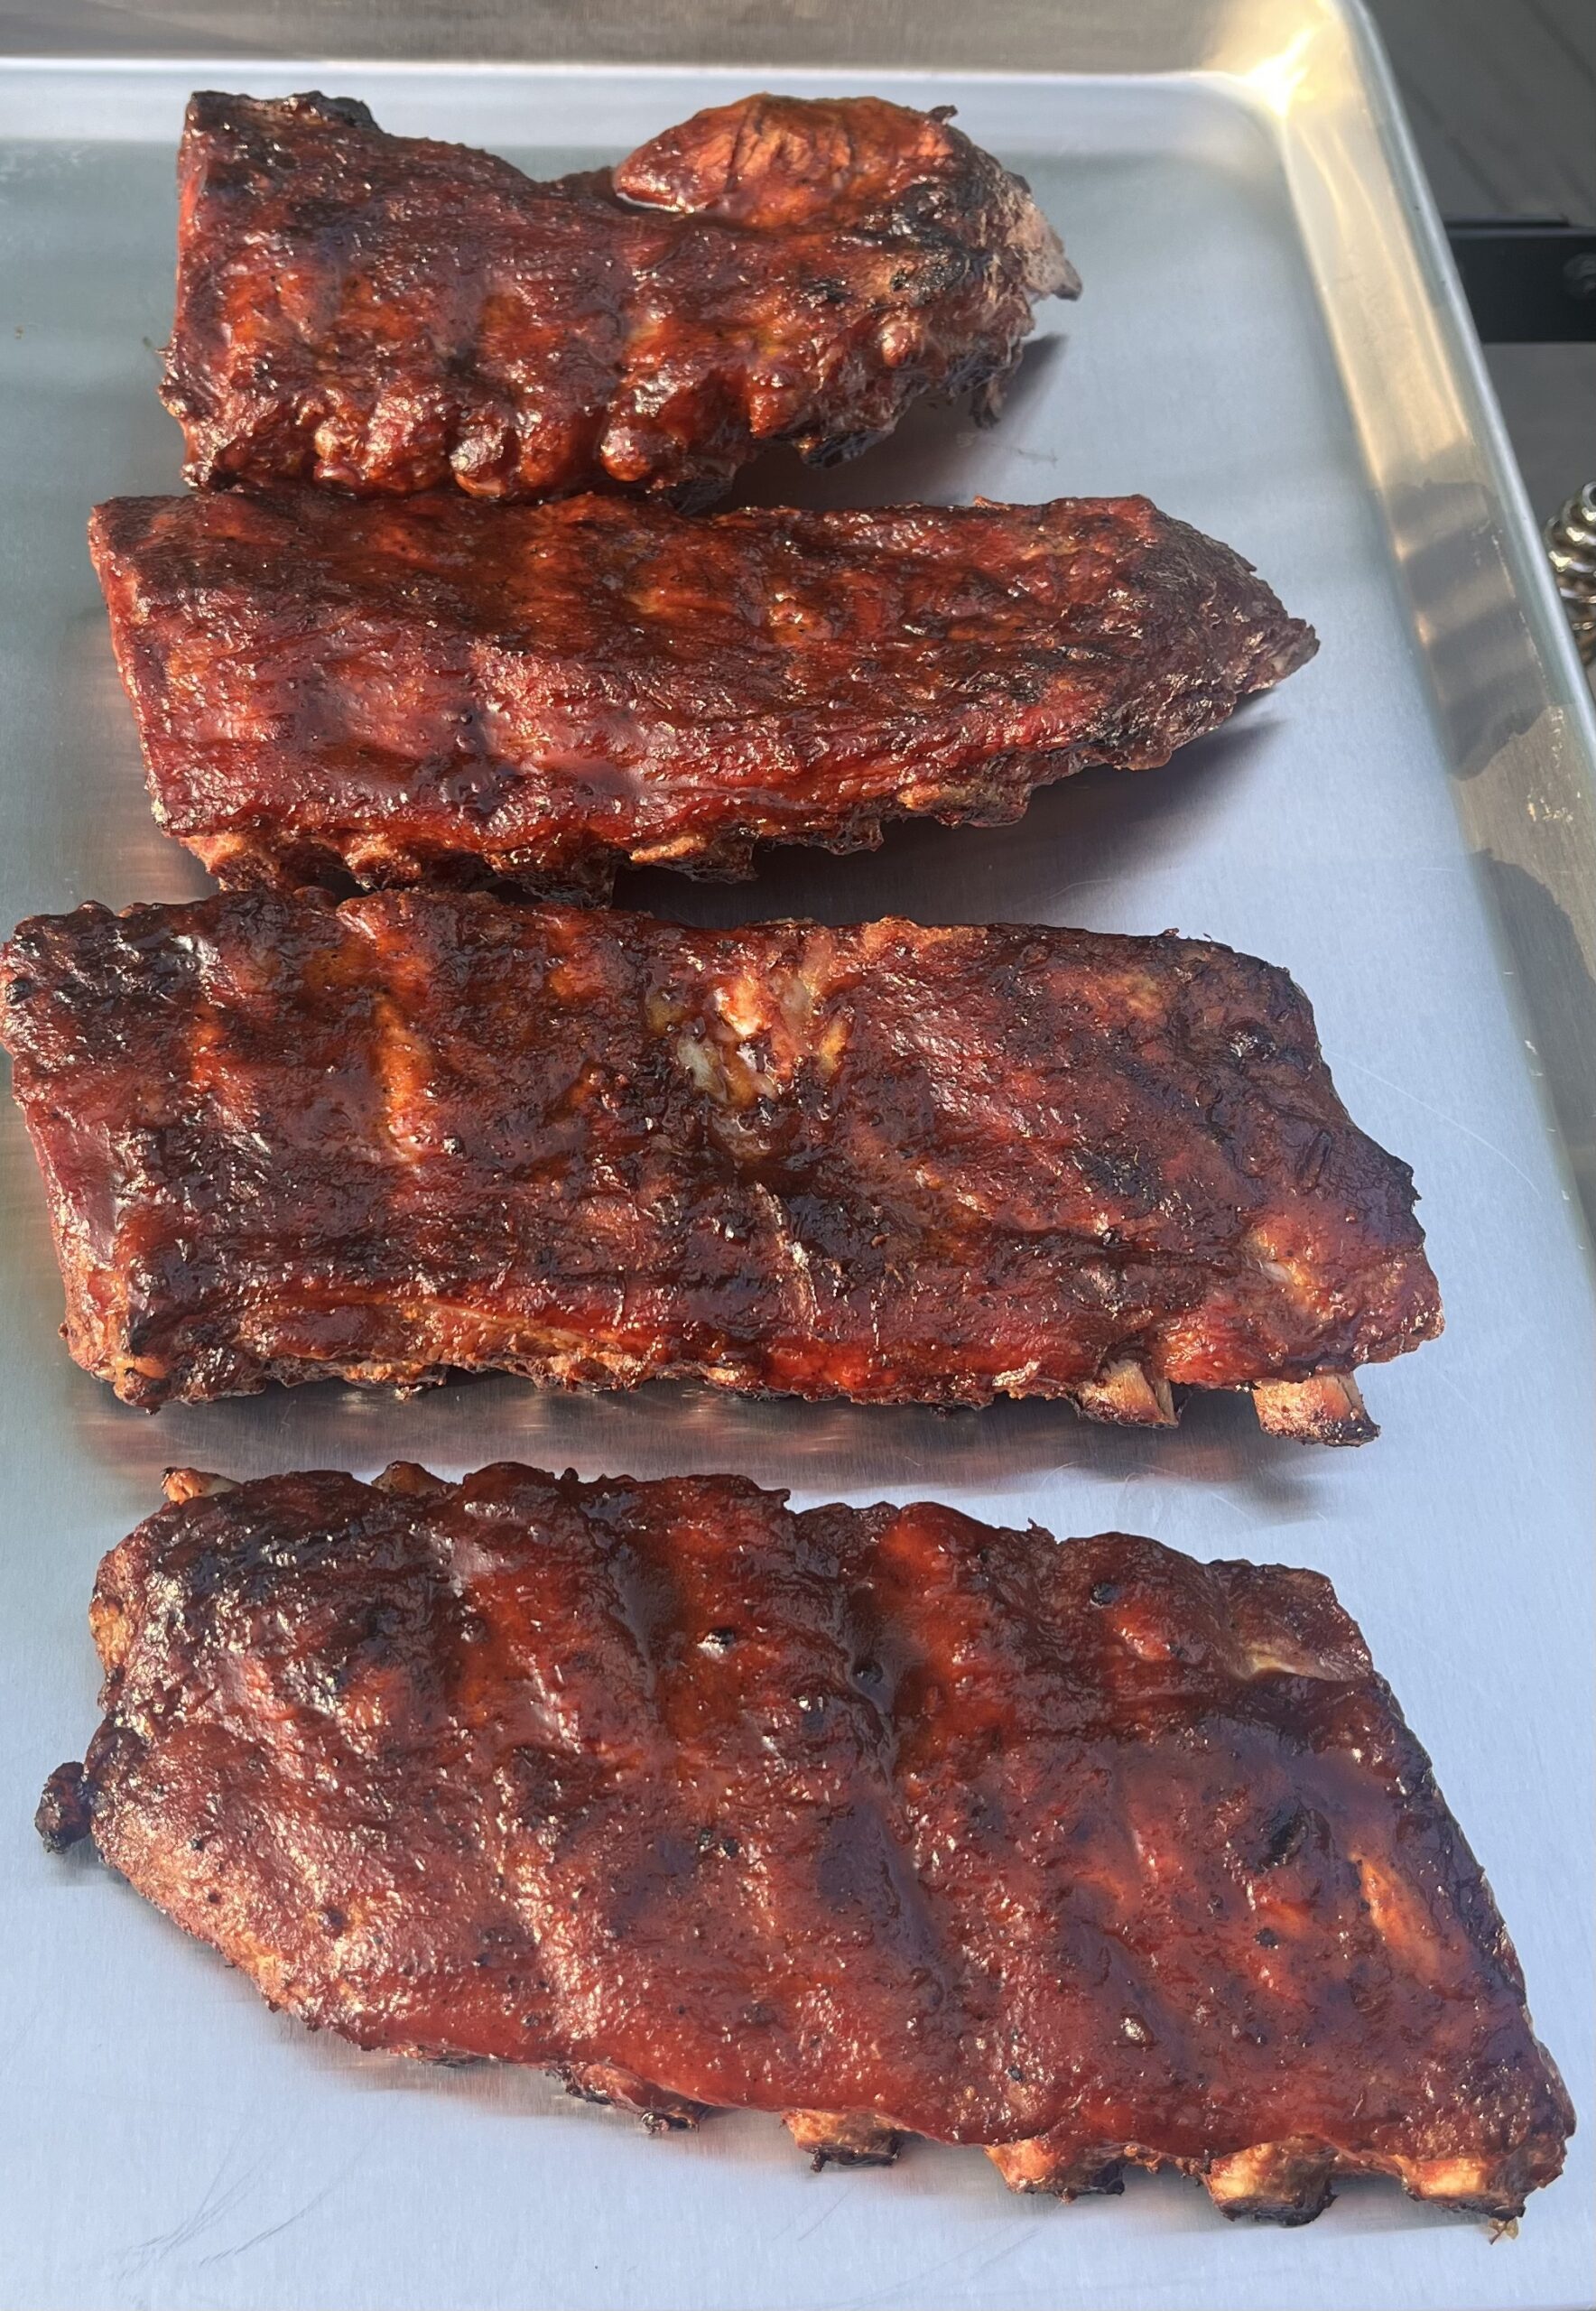
- Once ribs are at temperature, brush on your desired glaze. I glaze both sides twice letting them cook for a couple minutes between applications. Be careful not to burn the glaze at this point.
- Remove ribs from grill and serve.
Notes
- I generally don’t add hardwood, but it probably wouldn’t hurt, just go easy on it
- For the glaze, I use some BBQ sauce–home made or store bought–thinned with water for easier brushing. I will try the gochujang glaze in the near future.